Vanilla Bean Lotion Bars DIY Recipe
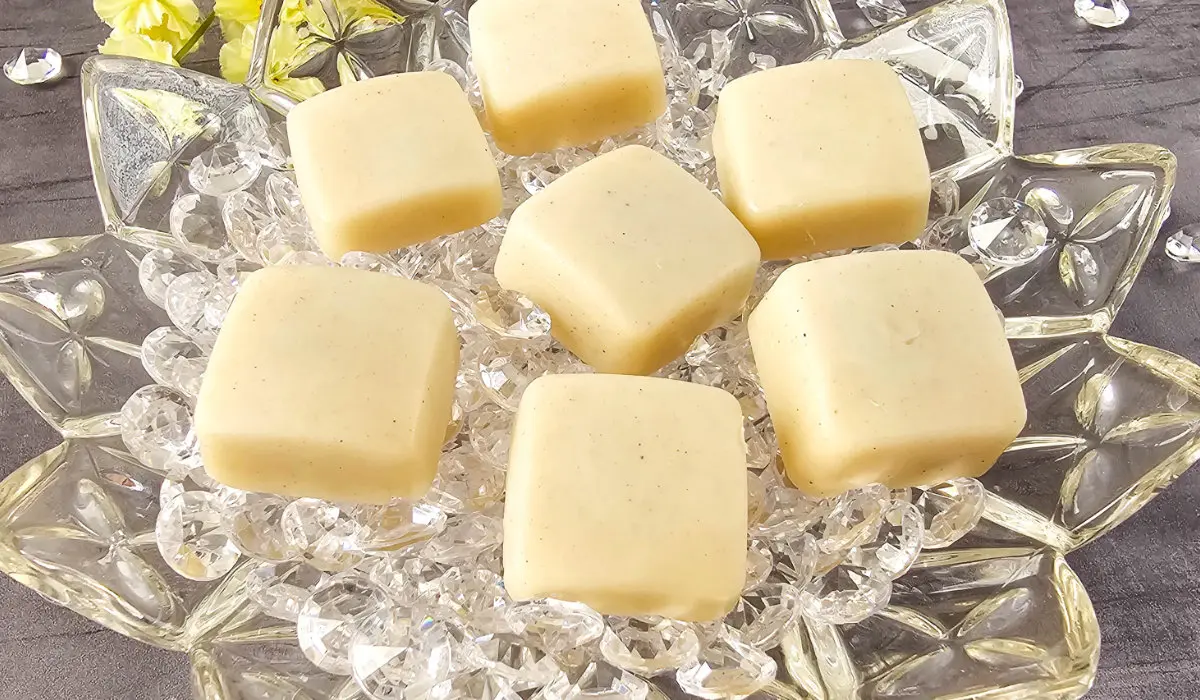
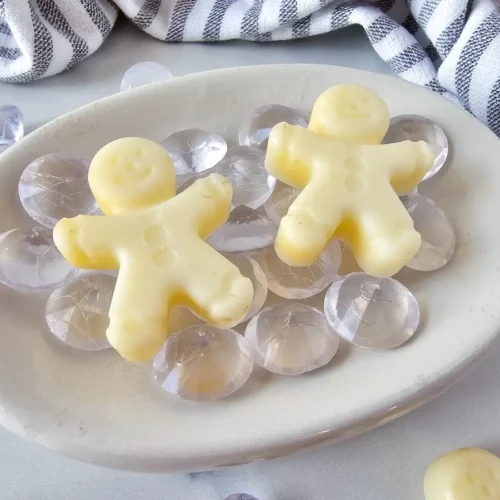
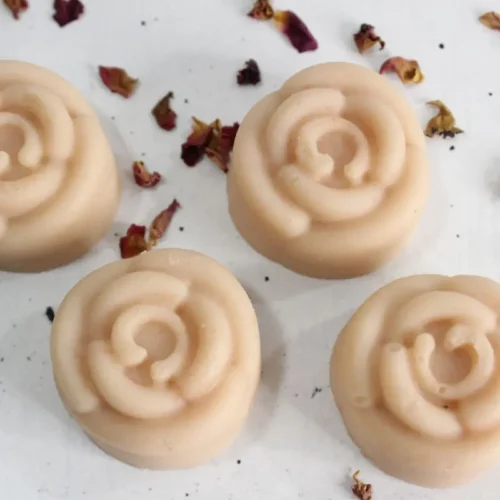
Learn how to make homemade vanilla lotion bars with this easy recipe. These luxurious bars are easy to make and provide nourishing moisture for your skin. With just a few simple ingredients, and a microwave or double boiler, you can make these lotion bars for diy gifts or personal use. Say goodbye to dry skin and hello to smooth, hydrated perfection!
This post may contain affiliate links. Read my disclosure policy.
Pin for later
Benefits of homemade lotion bars
Some benefits of lotion bars over traditional lotion include:
- They are more portable and convenient to carry.
- They have a longer shelf life due to their solid form.
- They typically contain natural ingredients and fewer preservatives.
- They provide targeted moisturization to specific areas.
- They are great for dry skin as they provide a thicker and more intense moisturizing effect.
- They can be used for various purposes such as moisturizing, massage, and cuticle care.
Please note that individual preferences may vary, and it’s always a good idea to try different products to find what works best for your skin type and needs.
Ingredients and Supplies to make Vanilla Bean Lotion Bars
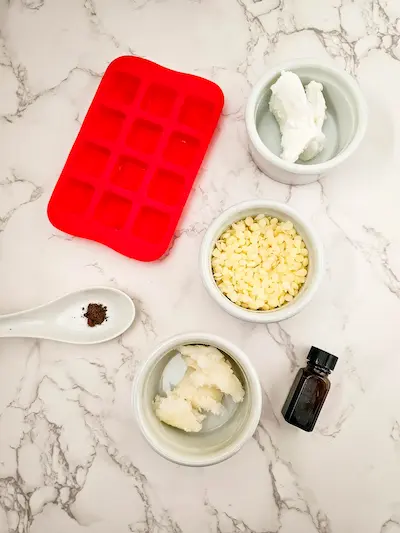
Before you get started, gather all your ingredients. You may already have most of these if you do lots of DIY beauty projects. If not, you can order them and have them delivered quickly.
You’ll find that they can be used in many other projects so don’t feel like these ingredients won’t ever be used again. Some other DIY projects that you can use these in include:
Here’s what you’ll need:
Raw Shea Butter – Be sure to get raw shea butter, not premade shea butter lotion. They are not the same. I use this one. (You can use it in many other DIY projects)
Coconut Oil – this is your standard coconut oil. You may already have some in your kitchen. Try to use organic, virgin, first pressed. This is the one I like to use.
Beeswax – any form of beeswax will work. I like to use these pellets since it makes measuring really easy.
Vanilla Essential Oil
Vanilla Bean Powder – this adds color and those beautiful vanilla flecks in the lotion bars. You could leave it out if you don’t have it, but it is what makes these look so beautiful and gives them that vanilla look and smell. It’s typically found with the spices. This is the Vanilla Bean Powder that I used.
Equipment needed to make Vanilla Bean Lotion Bars
Silicone mold – I used this 1 inch square mold. Any mold will work. I have even been known to use a small shallow pan that you can pour your mixture into and then cut with a knife once it’s hardened. If you use this method, I recommend lining it with parchment paper first to make it easy to get them out once they’ve hardened.
Kitchen Scale – Makes measuring your ingredients a breeze. You may already have one. If not, you can pick this one up for very cheap (under $10 at the time of this writing).
Microwave Safe Measuring Cup – I usually use a glass Pyrex style measuring cup because the spout makes it easy to pour into the silicone mold. A glass bowl, or mason jar works too.
Wooden Craft Sticks – These are totally optional. I like to use them because they make cleanup a breeze. You can use them in many other DIY’s where melting oils and butters is required. I used some like this
Double Boiler or Microwave – you can either use a double boiler or a microwave. If you don’t have a double boiler and don’t like using the microwave, you can improvise by putting a mason jar in a pot of simmering water and melting your oils and butters in the mason jar.
Directions to make Vanilla Bean Lotion Bars
Once you have your supplies gathered, you can get started.
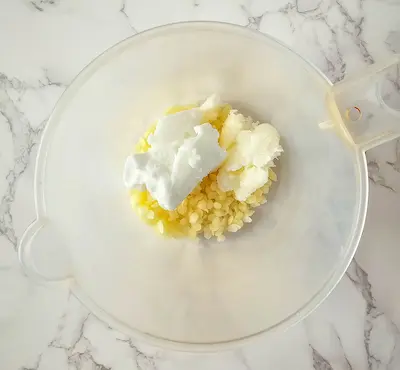
First, Add the shea butter, coconut oil, and beeswax to the measuring cup, and heat in 30 second intervals, stirring between each heating session, until fully melted. Or melt in a double boiler.
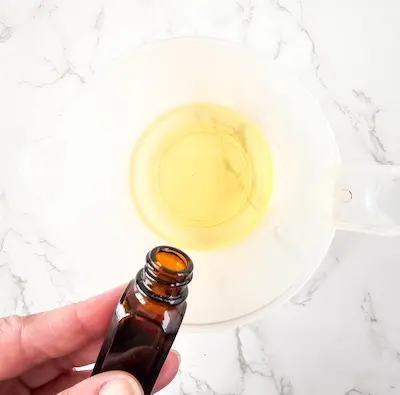
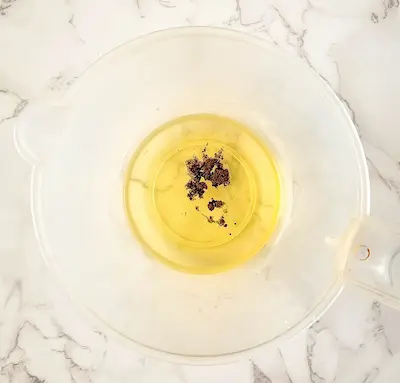
Next, stir in the essential oil, then the vanilla bean powder.
After you have mixed everything, pour the mixture into your molds or a small shallow pan and allow it to cool and harden for about 2 – 3 hours.
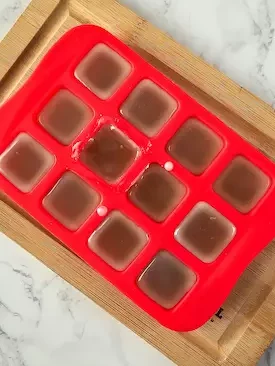
Once the mixture has cooled and hardened in your mold, pop the squares out. If you used a shallow pan, cut with a knife into individual squares.
Store your lotion bars in a cool, dark, dry place.
I like to wrap each lotion bar in some unbleached parchment paper. This makes them portable.
To make a cute gift, tie some twine around the parchment paper.
To use your lotion bars, simply rub one in your hands as you would soap. Once you get enough in your hands rub your hands together to get the lotion absorbed into your skin – just like you would with regular lotion.
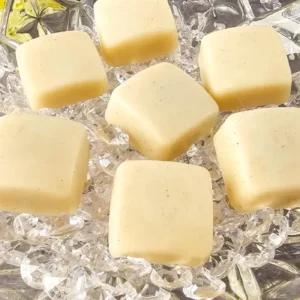
Vanilla Bean Lotion Bars DIY Recipe
Equipment

Ingredients
- 1.5 oz shea butter
- 1.5 oz coconut oil
- 1.5 oz beeswax
- 15 drops vanilla essential oil
- ¼ tsp vanilla bean powder
Instructions
- Add the shea butter, coconut oil, and beeswax to the measuring cup, and heat in 30 second intervals, stirring between each heating session, until fully melted.
- Stir in the essential oil, then the vanilla bean powder.
- Pour into the mold, and allow to set for 2-3 hours.
- Unmold, and store in an airtight container in a cool, dark place.
Notes

Dawn Goehring
Hi! I’m Dawn, the founder of Desert Naturals. My family , including my 2 teen boys, husband and myself, live in the southern California desert, I’m passionate about natural living and a life free of synthetics, dye’s, artificial fragrances, and other harmful ingredients. I love to use essential oils and natural ingredients for pretty much everything from natural remedies for my family, to non toxic cleaning for my home, to making my own DIY Beauty products, self care products, and more.


