DIY: How to Make Homemade Whipped Body Butter Recipe
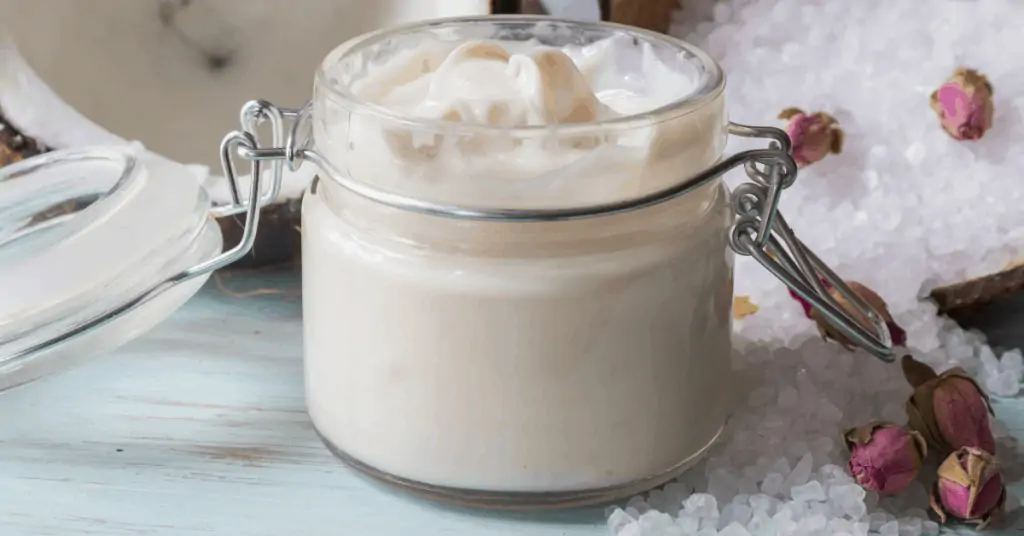
Who doesn’t love soft, moisturized, and healthy skin? In this blog post, we’ll cover how to make your own body butter with natural ingredients and essential oil. Free from synthetic ingredients and preservatives.
If you love making your own natural products, you’ll love this DIY Body Butter recipe.
The butters and oils used in this DIY Body Butter recipe are the perfect combination that will leave your skin moisturized for days after applying.
Customize your whipped body butter with any essential oil of your choice.
My favorite essential oil combination to use is Frankincense and a citrus such as Wild Orange or Vanilla and Lavender. So yummy!
I use affiliate links in this article. If you click a link and make a purchase, I may earn a small commission. Any money earned goes towards the cost of running this website. Your purchase price is not affected.
Pin for later
What are the benefits of making your own body butter?
Making your own body butter allows you to customize the ingredients to suit your skin’s specific needs. You can choose natural, nourishing ingredients and add essential oils for their therapeutic properties. Plus, it’s a fun and creative project that allows you to indulge in self-care while saving money.
Body butter is a moisturizer that is usually made with shea or cocoa butter. It can also be made with other oils such as coconut oil or sweet almond oil. Essential oils are used to add fragrance, healing properties, and act as natural preservatives.
Whipped body butter is a perfect product to moisturize dry skin without leaving a greasy feeling. It’s especially great to help prevent stretch marks. It is also an excellent way to apply beneficial essential oils to the skin.
The main benefits of whipped body butter with essential oil are that it provides a protective barrier for the skin, it has a long-lasting moisturizing effect, and it is easy to apply.
The benefits of whipped body butter with essential oil are numerous and include:
- Moisturizing the skin
- Healing dry skin
- Natural protection from germs
- Aiding in preventing wrinkles and fine lines
Supplies you’ll need to make your whipped body butter
Stand or Hand Mixer
You’ll need a mixer – either a stand mixer or a hand mixer will work. This is what you’ll use to whip your body butter. It’s no different than making frosting (for those of you who are the baking types).
Kitchen pot and glass jar
You’ll also need some form of double boiler. I use a kitchen pot and fill it halfway with water and put a large glass jar inside it. This is how you’ll melt down all of your ingredients that I talk about in the next section.
Spatula or popsicle stick for stirring
You’ll also find cleanup easiest if you have a wooden popsicle stick for stirring. I happen to make enough DIY Beauty products that I have a dedicated spatula that I use. Just wipe it off with a paper towel when you’re done. But if you don’t have a spatula that you want to use, just use a popsicle stick. I try to not use single use items whenever possible but this is one time when I will use one. If you have kids, you probably have one stashed in all the craft supplies.
Ingredients for your DIY Whipped Body Butter
Glass Storage Container with a sealing lid
You’ll need a glass jar to store your body butter in. I try to avoid plastic whenever possible so that the chemicals from the plastic don’t leach into the body butter which will be going directly onto my skin. Skin is your largest organ in your body and very easily absorbs all those toxins.
Having said that, you could repurpose a container from a previous body butter. Be sure to wash it out well – hand wash with cold water. Heat causes chemicals in plastic to leach out even more. So just a simple hand wash in cold water would be best.
This recipe will make 2 cups worth of body butter so you’ll need a large enough jar to store it all in. A wide mouth mason jar will work well, or pick up a pretty container and refill it as you empty it. Like this pretty frosted glass jar with a bamboo lid.
I love these 16 oz airtight jars that come with free labels and are large enough to store 2 cups!
- ❤Complete Set: Comes 6 packs of airtight glass jars in a safty package,these16 oz glass jars are 3.8” tall and 4.5” wide, 3.6″wide mouth,use it to storage your home & kitchen and more now!comes with free stickers and a pen for free labeling,and an extra rubber seal ring replacement for each jar
Raw Shea Butter
Shea butter is a natural remedy and ingredient for skin care products. It is rich in vitamins, minerals and essential fatty acids that help to keep the skin healthy, moisturized, nourished and glowing.
Shea butter has been used for centuries in Africa as a natural remedy for various illnesses. It has also been used in cosmetics to moisturize the skin. Shea butter can be used as a natural remedy for eczema, dermatitis and psoriasis because it helps relieve itching and inflammation.
Shea Butter Benefits:
- Shea butter can be applied to any part of the body
- Shea butter can be used as an anti-inflammatory agent
- Shea butter soothes dryness on the skin
I have used this Shea butter for this whipped body butter as well as other natural beauty DIY’s:
- Custom Orders any size from 1lb to a truck load (through Amazon) are accepted and welcomed. Simply contact us Yellow Brick Road and we will set up the entire thing for you
Raw Cocoa Butter
Cocoa butter is a natural moisturizer that can be used on the skin to provide it with hydration. It is a common ingredient in many skincare products.
Cocoa butter has many benefits for skin. It not only moisturizes the skin, but also has anti-inflammatory properties, which can help reduce inflammation and redness on the skin. It also has antioxidant properties, which means it can help protect against free radicals and oxidative damage to cells.
I use this Cocoa Butter for this body butter recipe and my other DIY natural beauty projects
- COCOA BUTTER FOR STRETCH MARKS – Pure Cocoa Butter is one of the top effective ingredients in scar and stretch mark creams. It is safe for pregnant women, and it’s suitable for all skin types.
Coconut Oil – Extra Virgin, Cold Pressed for maximum benefits
Coconut oil is a natural ingredient that has many benefits for skin. Coconut oil has been used for centuries as a beauty product. It is known for its healing and moisturizing properties. It can be used as a moisturizer and can help with other skin problems.
Coconut oil is also known as an anti-aging product because it helps to reduce wrinkles and fine lines on the skin. Coconut oil can also be used to remove makeup, which is why it’s often recommended by makeup artists.
Coconut oil benefits are numerous and include anti-inflammatory, antioxidant, antibacterial, antiviral properties. It also helps to improve the appearance of scars by reducing the appearance of redness or blotchiness.
I have purchased and used this coconut oil
- Pure, cold-pressed, organic, non-GMO extra virgin coconut oil Non-GMO Project Verified
Fractionated Coconut Oil
Fractionated Coconut Oil is coconut oil that always stays liquid. It has many of the same benefits as standard coconut oil.
It is typically used as a carrier oil with essential oils. In this body butter recipe, it helps to thin out the shea butter and cocoa butter so it’s not quite so thick.
You could also choose to use Jojoba oil, avocado oil, grapeseed oil, or even olive oil. Keep in mind that olive oil has a strong scent so might affect the scent of your finished product slightly.
I love this brand of fractionated coconut oil that I pick up from Amazon (as well as their other oils such as argon oil which I use in my DIY Facial Serum).
- Fractionated Coconut Oil Organic: PURA D’OR Organic Fractionated Coconut Oil (MCT Oil) is easily absorbed, non-greasy and scent-free. Our organic coconut oil with pump can be used as a moisturizer day or nighttime for extra skin protection. Our coconut oil is great for makeup removal or hydration of the skin after a shower and a long day.
Essential Oil Blends to use in your DIY Whipped Body Butter
Essential Oils can make your body butter smell fantastic and can also add some powerhouse skin nourishing benefits.
You can choose your favorite essential oils to use or try experimenting with different essential oils to make different scents.
My favorite essential oil to add to whipped body butter is Frankincense. All by itself it is fantastic, smells great, and helps with anti aging benefits. Frankincense is one of the best oils for skin and can help your skin at the cellular level. It has natural astringent and anti-inflammatory properties and can help with skin imperfections.
My second favorite essential oil to add to whipped body butter is a Lavender oil. Lavender essential oil also has some pretty big skin benefits. Lavender has anti-inflammatory properties, helps protect your skins natural moisture barrier to help keep your skin from drying out so is one of the best choices if you have extremely dry skin and get dry, itchy patches. Lavender can also help with damaged skin such as scars, wounds, and irritations.
The recipe calls for approximately 30 drops of essential oil. You can use all one essential oil or a combination. For example, I love to combine Frankincense with Lavender. Lavender and Vanilla Body Butter is another very popular combination.
Essential oil blends for your whipped body butter:
Here are several essential oils blends for your body butter. Feel free to experiment and come up with your own personal blend.
- 15 drops Vanilla & 15 drops Lavender (sooo good together!!)
- 15 drops Grapefruit oil* & 15 drops Wild Orange oil*
- 30 drop Frankincense
- 30 drops Rose Essential Oil
- Bedtime Sleepy Time: 30 drops Serenity
- Calming: 30 drops Lavender
- Dreamscicle: 40 drops Orange, 20 drops Vanilla
- Balance: 10 drops Grounding Blend, 10 drops Frankincense, 10 drops Lavender
- Love the skin You’re In: 10 drops Lime, 10 drops Bergamot, 10 drops Frankincense
- Hormone Calming: 20 drops Clary Sage, 8 drops Frankincense, 4 drops Cedarwood
*Citrus oils can cause photosensitivity, so I don’t recommend using them if you plan on being in direct sunlight after topical application. You can sunburn very easily.
What is the shelf life of homemade body butter?
Homemade body butter is a great way to moisturize your skin. It is also a great way to save money. But how long does it last?
I’ve always used mine up before it’s gone bad, so I don’t have an exact answer as mine has never spoiled.
The shelf life of homemade body butter should last for about six months. You can refrigerate it if you’d like to make it last longer. You’ll know it’s time to toss it if the texture starts to become weird or it gives a strange odor. But if you’re like me, that won’t be a problem.
Related: You may also love this luxurious Natural Lotion scented with Essential oils
DIY Homemade Whipped Body Butter Recipe with essential oil blends
Equipment
- 1 large glass mason jar or heat safe bowl
- 1 large pot
- 1 spatula or Popsicle stick
- 1 stand or hand mixer
Ingredients
- 1/2 cup Raw Unrefined Shea Butter
- 1/2 cup Raw Cocoa Butter
- 1/2 cup Raw Coconut oil (extra virgin, cold pressed is best)
- 1/2 cup fractionated coconut oil
- 30 – 40 drops Essential Oils of your choice (ex: 15 each Vanilla & Lavender) (or any combination of your favorite oils). Use more or less depending on how strong you want the scent.
- 1 jar with lid
Instructions
- Measure all butters and oils in glass mason jar or heat safe glass bowl.
- Fill a large skillet/saucepan with one to one and a half inches of water. Bring to a boil.
- Once boiling, add the glass jar to the center of the saucepan to melt and combine ingredients.
- Stir every few minutes until the ingredients are melted and combined. (10–15 minutes) Tip: Use a popsicle stick to stir for easy cleanup.
- Once everything is melted, remove from heat and let sit for 5–10 minutes. Add desired essential oils.
- Once essential oils are added, let it rest in a cool place (such as the refrigerator) until it has set.
- Once chilled, take out of refrigerator. With a stand or hand mixer, start on low and slowly turn the speed higher until the lotion becomes light and fluffy (around 3–5 minutes).
- Store mixture in a glass jar and keep in a cool, dry place. If needed, re-fluff the body butter by whipping it back up to the desired consistency with a hand mixture.
Notes
Pin for later
Related: More DIY Essential Oil Beauty Recipes
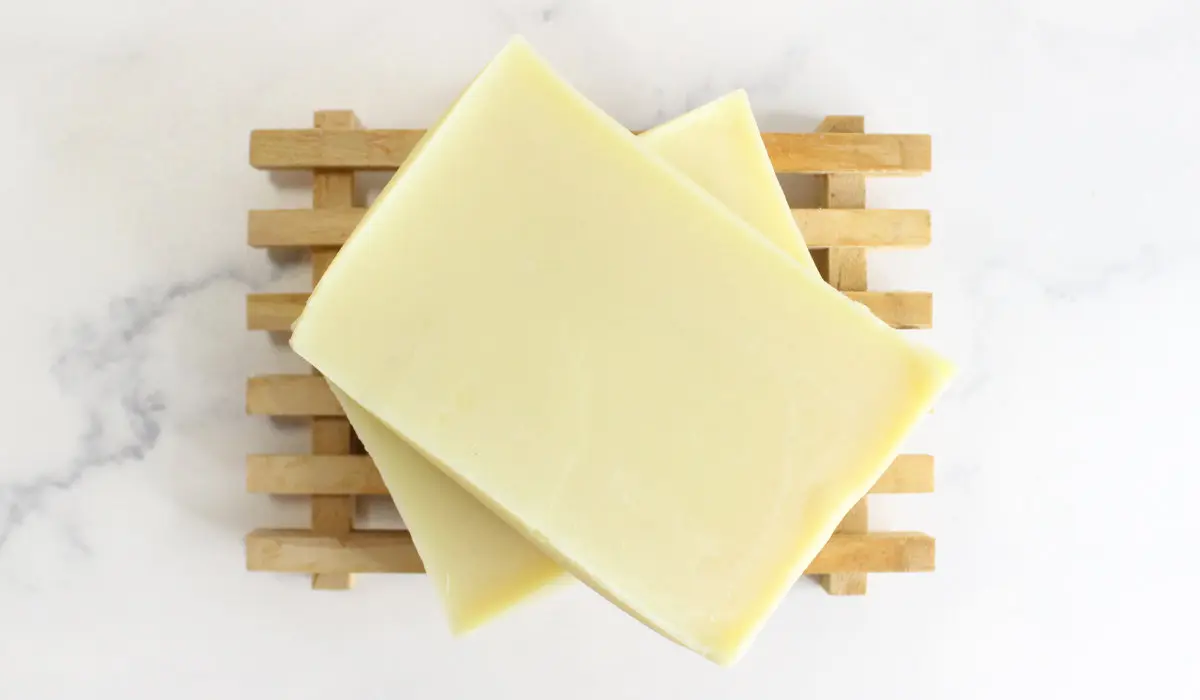
DIY Conditioner Bar Recipe for Hair
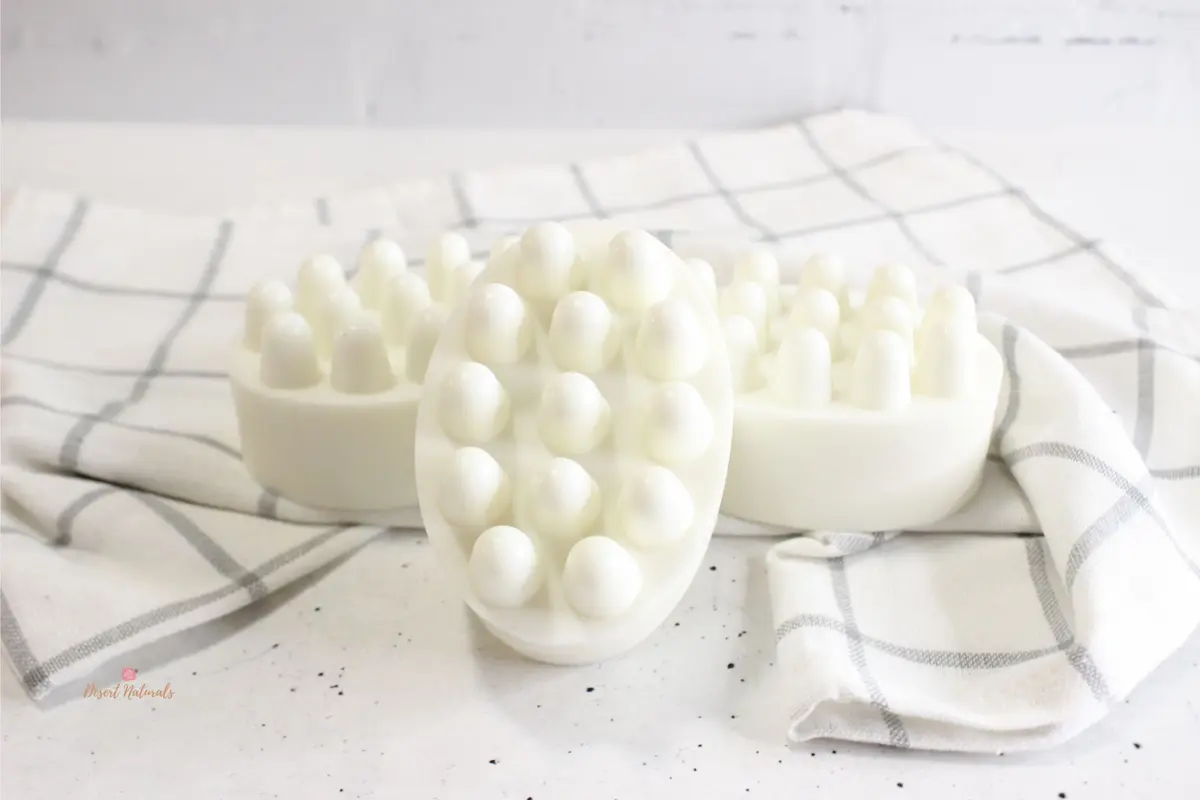
How To Make DIY Shampoo Bars: Recipe with Melt & Pour Soap
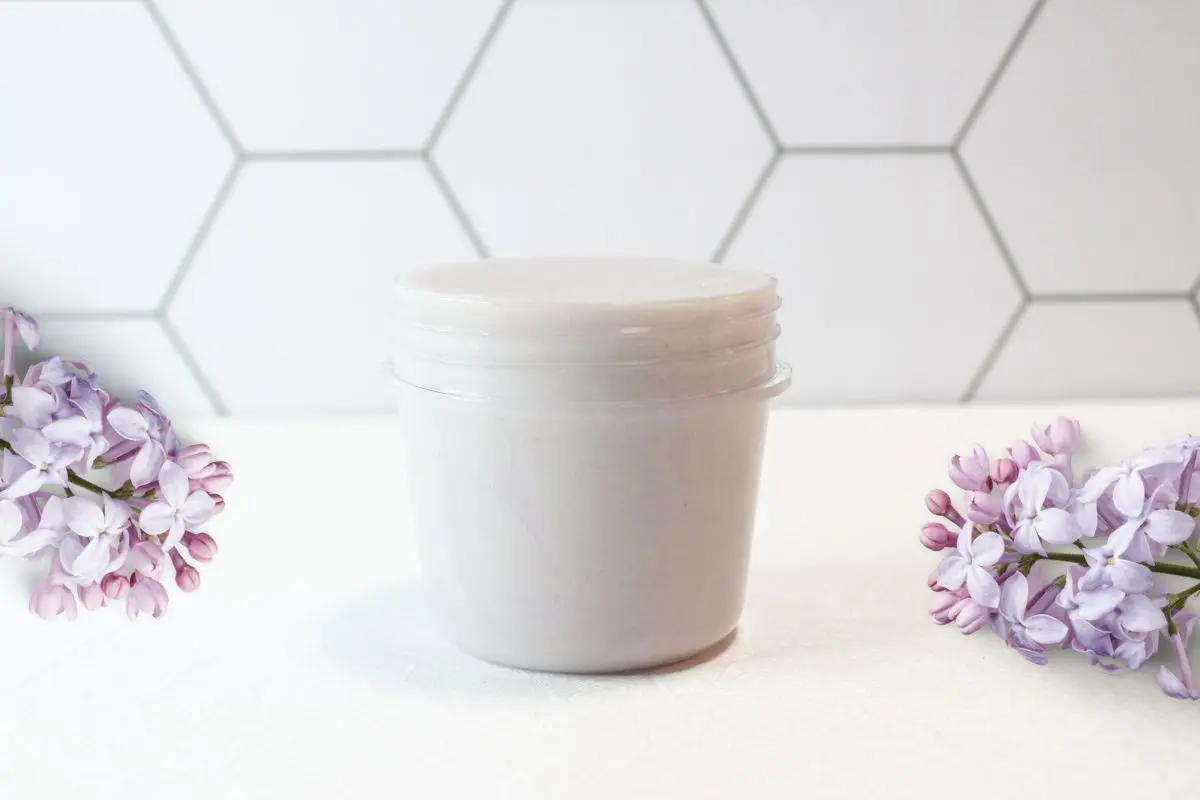
DIY Lilac Lotion Recipe
Matcha Green Tea Face Mask Recipe
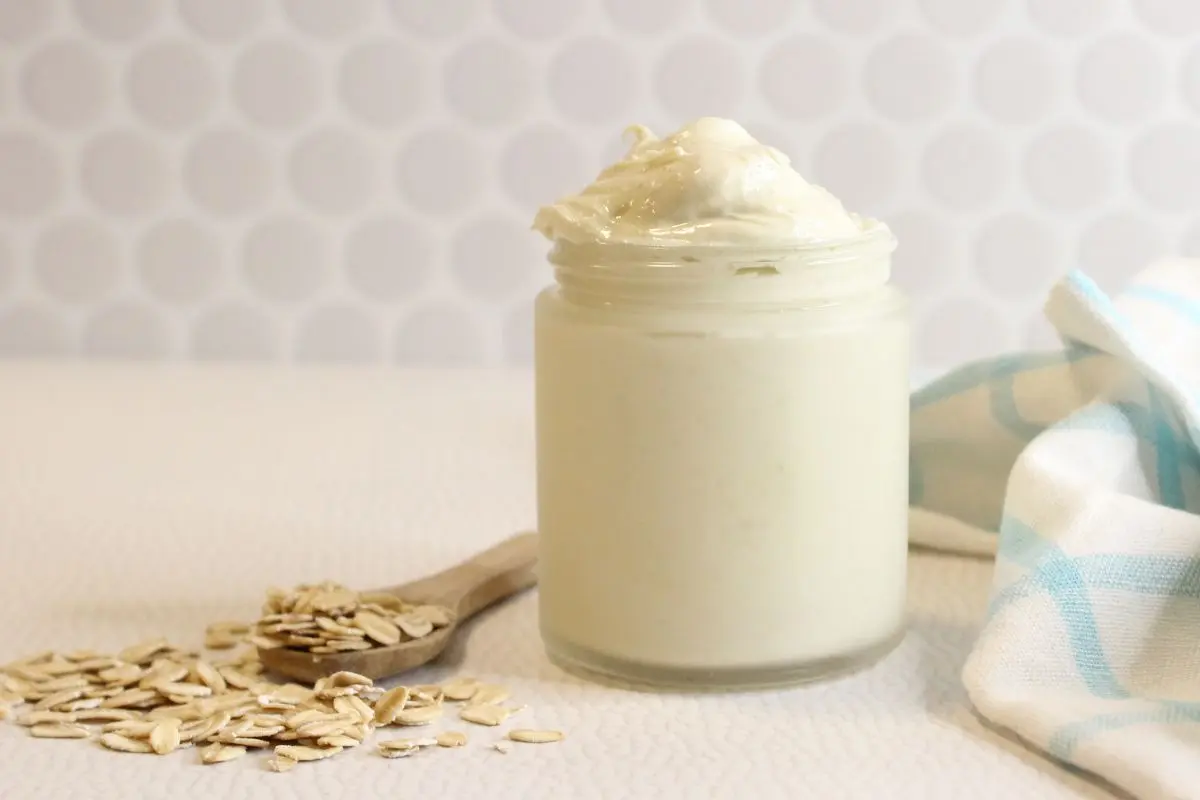
DIY Oatmeal Body Butter Recipe
Best Essential Oils for Scars + DIY Healing Scar Roller blend
Before You Go, See What’s New On The Blog

Dawn Goehring
Dawn Goehring is the founder of Desert Naturals where she writes educational articles on essential oils, DIY’s on natural beauty products, homemade cleaners, and provides related essential oil accessories like planners, trackers, tshirts, and custom designed essential oil storage. She has been featured in articles on Porch.com, Redfin.com, MommyOnPurpose and more.
Dawn has earned an aromatherapist degree and has earned a doTERRA essential oil specialist certification which is a fancy way of saying she has learned a lot about the chemistry of essential oils and how they work in the body.


Love your site