How to Make Sea Moss Gel: Easy DIY Recipe
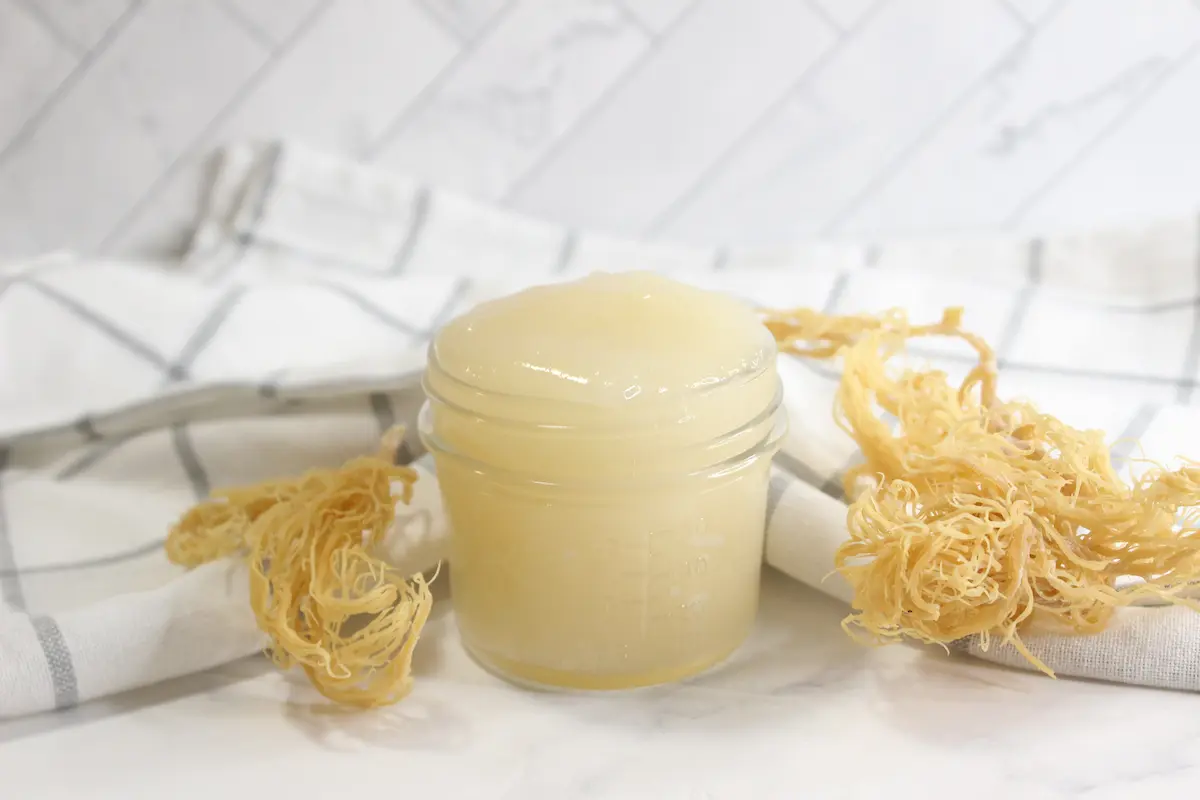
Learn how to make your own DIY sea moss gel with this easy-to-follow guide.
Sea moss gel is a nutrient-packed superfood that can be incorporated into various recipes to boost your health and well-being.
You can create your own sea moss gel at home in just a few steps and ensure its quality and freshness. You’ll know exactly what is in it!
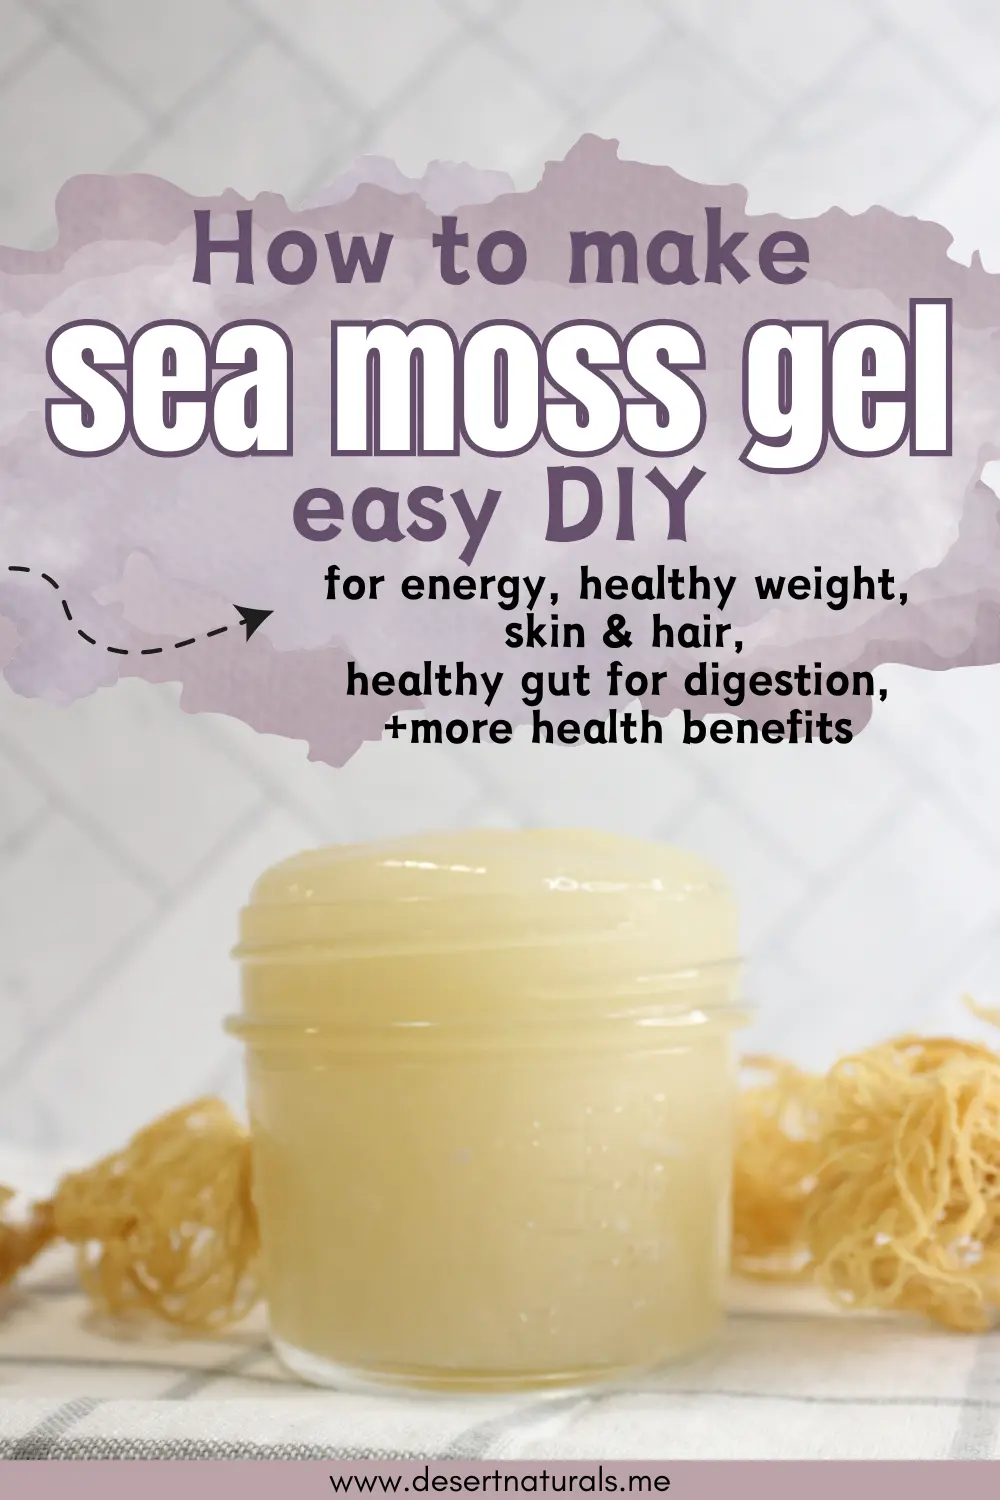
Pin for later
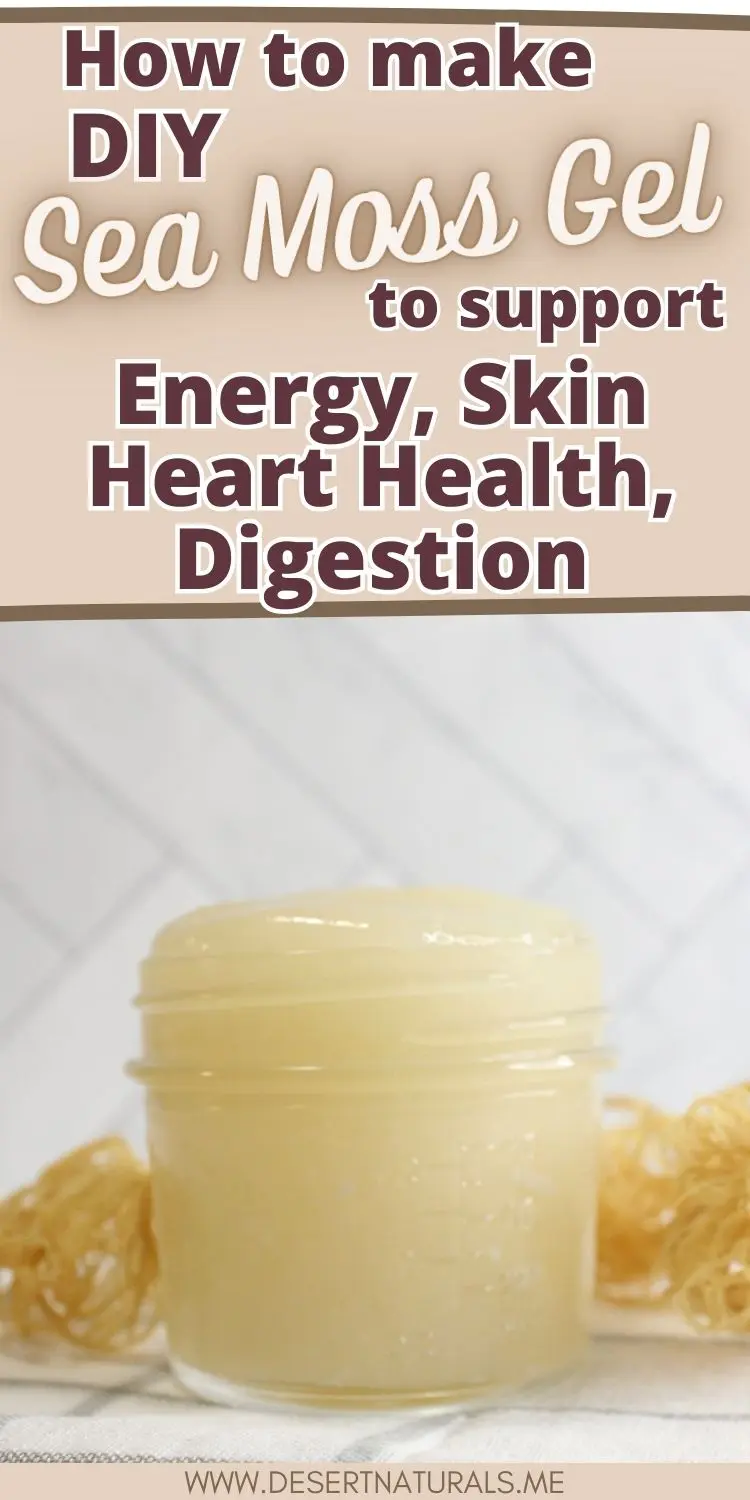
What is Sea Moss?
Sea moss, also known as Irish moss, is a type of seaweed that comes from the coastlines of North America, Europe, and the Caribbean.
Sea moss gel can be eaten with smoothies, oatmeal, and more for so many incredible health benefits. You can also use it in beauty products such as soap.
Benefits of sea moss gel
Sea moss gel offers many varied benefits such as:
- Improved digestion by promoting a healthy gut environment,
- Enhanced immune function,
- Increased energy levels,
- Support for healthy skin and hair.
Sea moss gel is known for its numerous benefits, which include aiding in digestion by promoting a healthy gut environment.
It also helps to strengthen the immune system, making it more resistant to illnesses and infections.
Consuming sea moss gel can boost energy levels, providing a natural source of vitality throughout the day.
Sea Moss gel supports the health of the skin and hair, helping to maintain a radiant complexion and strong, shiny hair.
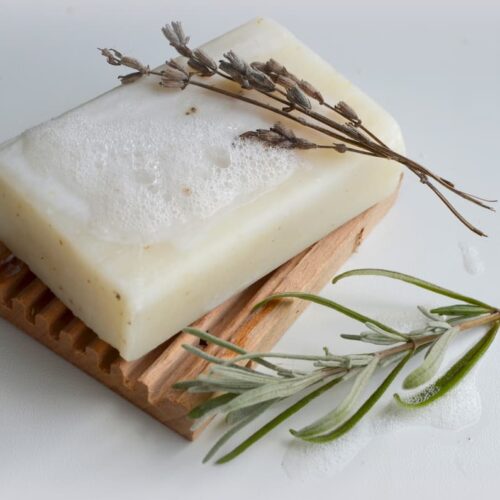
Corresponding soap: Sea moss soap can really help your skin, especially with acne! It can also help with inflammation. Check out the tutorial here.
How to make Sea Moss Gel
Making sea moss gel is super easy. You only need two ingredients:
Sea Moss and filtered water
First, soak your sea moss for about 2 days (48 hours) in a bowl of filtered water.
You’ll want to use a bowl bigger than the dried sea moss because it’s going to expand.
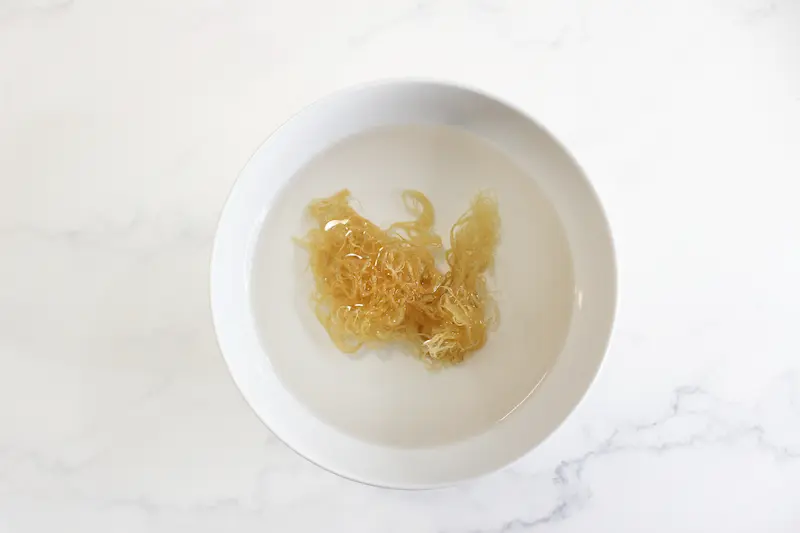
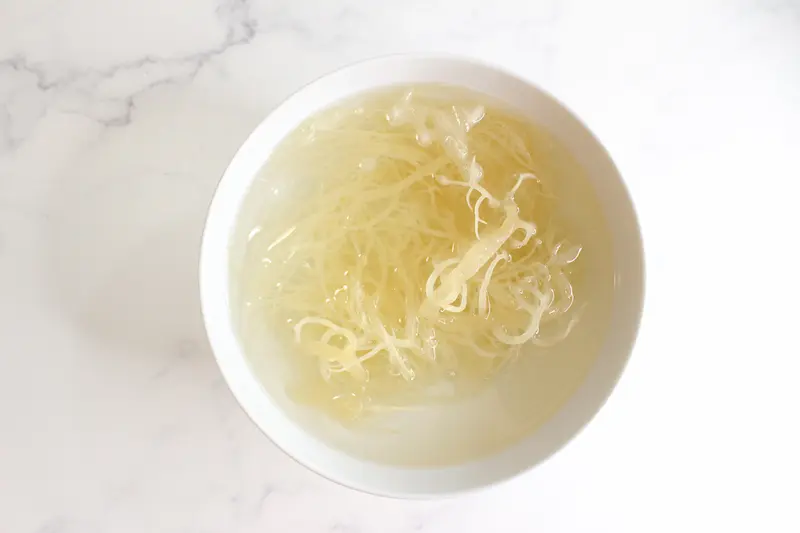
After your sea moss has soaked and expanded, drain it in a colander, and rinse it well under running water.
Then, add it to a blender with about 1 cup of filtered or distilled water and blend until it is smooth. You may need to use a high powered blender for this so you don’t end up with grainy gel.
That’s it!
Store your sea moss in a glass jar (a mason jar is what I used) in your fridge for up to 4 weeks.
How to Make Sea Moss Gel, Easy DIY Recipe
Equipment
Ingredients
- Chunk of sea moss
- Water
Instructions
- Add the sea moss to a bowl of filtered water. Make sure it is completely covered. Let sit for 48 hours covered. Make sure to use a bigger bowl since it will expand and get soft.
- Drain the sea moss and add it to a blender with about 1 cup of filtered water. Blend until it is nice and smooth.
- That’s it! Keep the sea moss gel in a closed container in your fridge for up to 4 weeks.
Notes
How to use Sea Moss Gel
There are so many ways you can use sea moss gel. Here’s a few ideas:
- Add sea moss gel to smoothies for added nutritional benefits.
- Use sea moss gel as a natural thickening agent in soups, stews, and sauces.
- Spread sea moss gel on toast or crackers as a healthy alternative to butter or spreads.
- Mix sea moss gel into your favorite salad dressings or dips for a nutritious boost.
- Include sea moss gel in homemade face masks or skincare products for its potential benefits on the skin.
- Blend sea moss gel with fruits and vegetables to create refreshing and nutrient-rich juices.
- Use sea moss gel as an ingredient in vegan desserts or as a substitute for eggs in baking recipes.
Pin for later

Before You Go, See What’s New

Dawn Goehring
Dawn Goehring is the founder of Desert Naturals. Combining her passion for holistic wellness, natural living and essential oils, she creates informative articles on essential oils, guides you through DIY natural bath & beauty products and homemade non-toxic cleaners, and self care.


