DIY Green Tea Face Cream Recipe
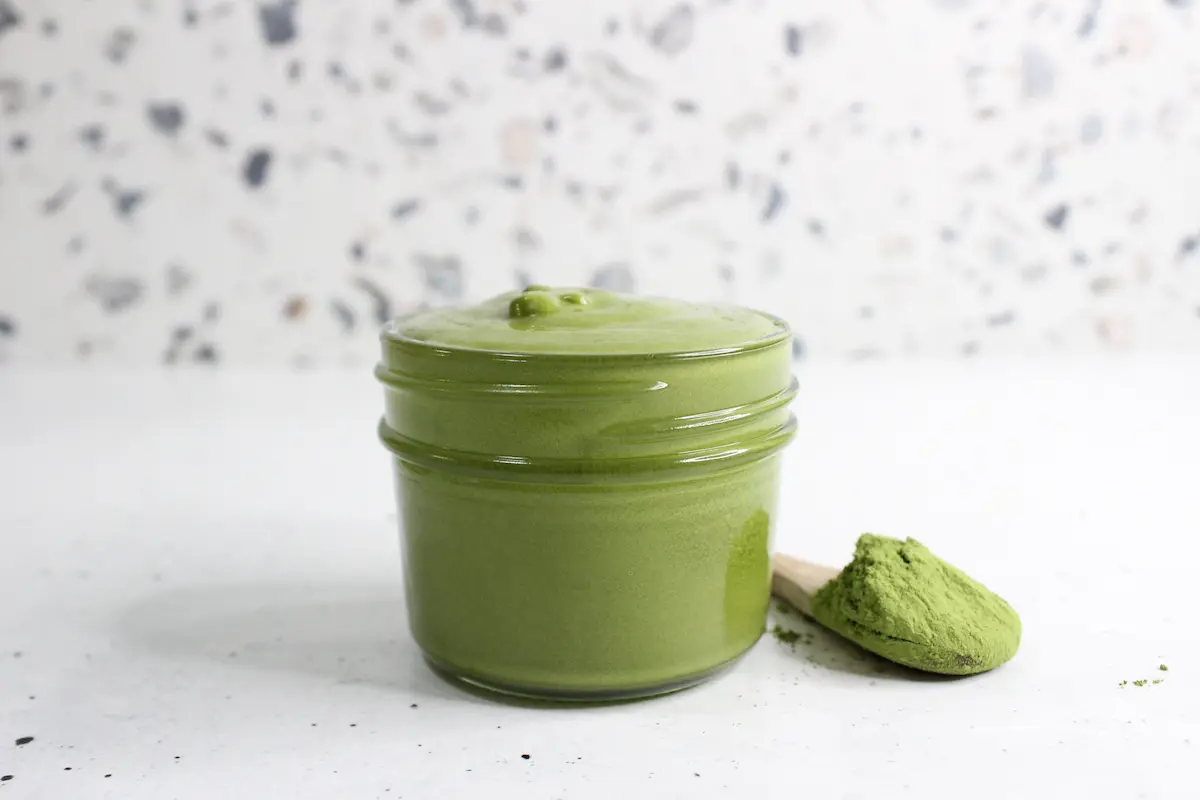
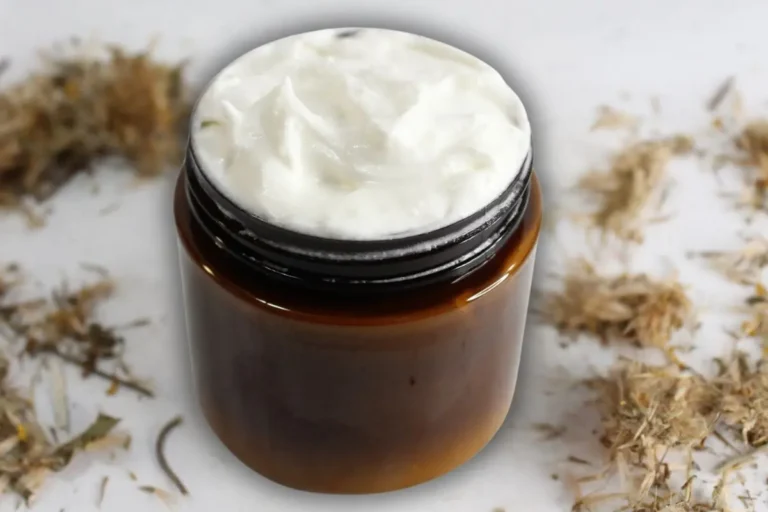
If you’re searching for a simple, natural way to keep your skin soft, smooth, and glowing, this DIY Green Tea Face Cream is the answer. Infused with the antioxidant power of matcha and hydrating ingredients like shea butter and coconut oil, this face cream is a nourishing treat for your skin.
This post may contain affiliate links. Read my disclosure policy.
This recipe is easy to make, customizable, and perfect for anyone looking to embrace natural skincare. Let’s find out what makes this cream so special and how you can create it at home.
What Makes This DIY Green Tea Face Cream So Special
This DIY Green Tea Face Cream is easy to make and feels luxurious on your skin. With simple ingredients and a straightforward process, it’s the perfect addition to your natural skincare routine. Let’s explore what makes it so special!
Rich in Antioxidants
Matcha powder is the star of this face cream. It is full of antioxidants that help protect your skin from harmful effects caused by the environment, such as pollution and UV rays. These antioxidants also work to brighten your complexion and give your skin a healthy, radiant glow.
Deeply Hydrating
This cream combines the moisturizing power of coconut oil and shea butter. Together, they lock in moisture and leave your skin feeling soft and smooth. Coconut oil melts into the skin quickly, while shea butter provides long-lasting hydration. The best part? It does all this without making your skin feel heavy or greasy.
Gentle and Customizable
Made with natural and simple ingredients, this cream is gentle enough for all skin types, even sensitive skin. You don’t have to worry about harsh chemicals or irritants. Plus, you can make it your own by adding essential oils. Whether you want the calming scent of lavender or the refreshing feel of peppermint, you can easily customize this cream to match your needs.
Balances and Calms the Skin
Green tea contains natural compounds that help balance oil production, making this cream a great option for combination or oily skin. It calms irritation and reduces the look of breakouts, leaving your skin refreshed and clear without clogging pores.
Brightens and Revitalizes
The natural caffeine in matcha stimulates circulation, giving your skin a refreshed and revitalized look. It can help reduce puffiness and dark circles, especially when applied around the eyes, making your skin look more awake and energized.
Multi-Purpose Use
This DIY cream is versatile and can be used beyond your face. Apply it to dry hands, elbows, or other rough patches for instant hydration. It’s gentle enough to double as an overnight mask for extra moisture while you sleep.
Eco-Friendly and Easy to Make
This DIY face cream is not only great for your skin but also kind to the planet. By using reusable containers, you’re cutting down on waste. The ingredients are simple and natural, making it a sustainable choice for your skincare routine. And the best part? It’s easy to make at home, so you can enjoy the benefits of handmade skincare without any fuss.
This green tea face cream is a perfect blend of nourishment, hydration, and sustainability. Once you try it, it’s sure to become a favorite in your daily routine!
What You’ll Need to Make Your Green Tea Face Cream
To create this soothing and hydrating green tea face cream, you’ll need just a few natural ingredients. Let’s get everything ready to begin!
Ingredients:
- 1 tablespoon matcha powder
- ¼ cup coconut oil
- 4 tablespoons shea butter
- 1 tablespoon carrier oil (like grapeseed or jojoba oil)
- 10-15 drops essential oils of your choice
A Deeper Look at the Ingredients!
Matcha Powder
Matcha powder gives this cream its vibrant green color, which I absolutely love because it makes the final product look so fresh and natural. It blends effortlessly into the mixture, creating a smooth and even texture. I enjoy using matcha because it mixes well without leaving any gritty residue.
Coconut Oil
Coconut oil is one of my favorite ingredients to work with because it melts so easily and creates a soft, spreadable base for the cream. It adds a silky consistency that makes the cream feel smooth when applied to the skin. I like how it helps everything blend together perfectly without clumping.
Shea Butter
Shea butter is a must-have for me when making creams. It adds the perfect thickness and gives the cream a luxurious, creamy texture that’s easy to whip. I appreciate how it helps balance the consistency, making the cream rich but not overly heavy.
Carrier Oil
The carrier oil plays a key role in creating a smooth and spreadable texture for the cream. . Argan oil and Jojoba oils are my go to’s for all things for my face.
Another great choice is is to use herbal-infused oils because they blends seamlessly and also adds an extra layer of nourishment from the herbs
Essential Oils (Optional)
Essential oils are my favorite way to personalize this cream. They blend so beautifully into the whipped mixture and give the cream a lovely, subtle fragrance. My personal favorite to use in face treatments is Frankincense because it’s great for skin and is anti-inflammatory and especially great for wrinkles! I also enjoy using lavender for its calming aroma and skin benefits.
It’s such a fun step to add your personal touch! However, essential oils are optional, and you can skip them if you prefer a fragrance-free cream.
These ingredients work so well together, and I love how they create a cream that’s light, fluffy, and easy to apply. Once you have everything ready, making this green tea face cream is a breeze!
Step-by-Step Instructions to Make Your Green Tea Face Cream
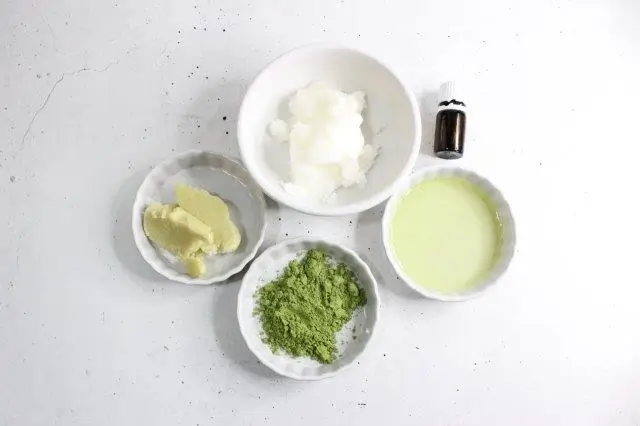
You nned the following ingredients to make this wonderful face cream:
- 1 tablespoon matcha powder
- ¼ cup coconut oil
- 4 tablespoons shea butter
- 1 tablespoon carrier oil (like Argan or jojoba oil)
- 10-15 drops essential oils of your choice – I love to use Frankincense for my face creams!
Once you have gathered all the ingredients, you are ready to start the recipe!
Step 1: Melt the Base Ingredients
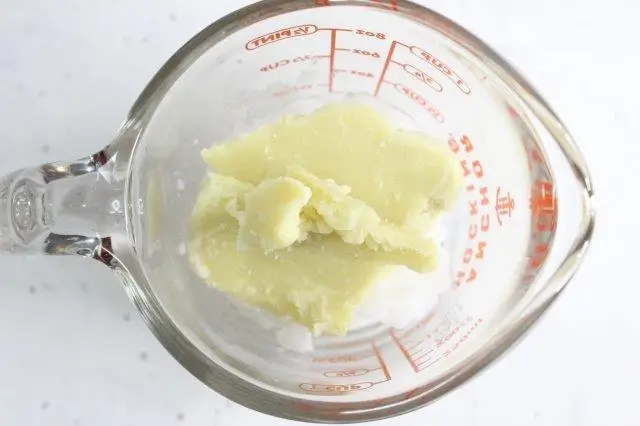
Combine the coconut oil and shea butter in a double boiler or microwave-safe bowl. Heat gently until both are fully melted.
If using a microwave, melt in short intervals, stirring in between to avoid overheating.
Step 2: Add the Matcha Powder
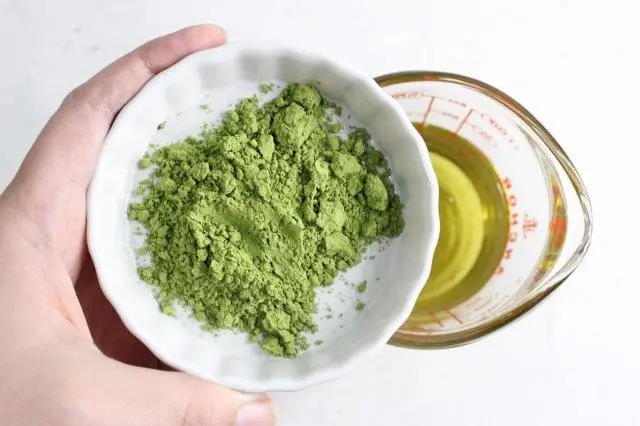
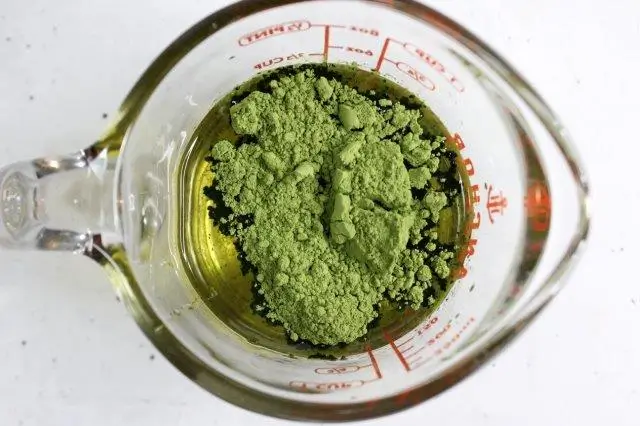
Once melted, remove the mixture from heat and stir in the matcha powder. Mix thoroughly until the powder is completely dissolved.
Step 3: Incorporate the Carrier Oil
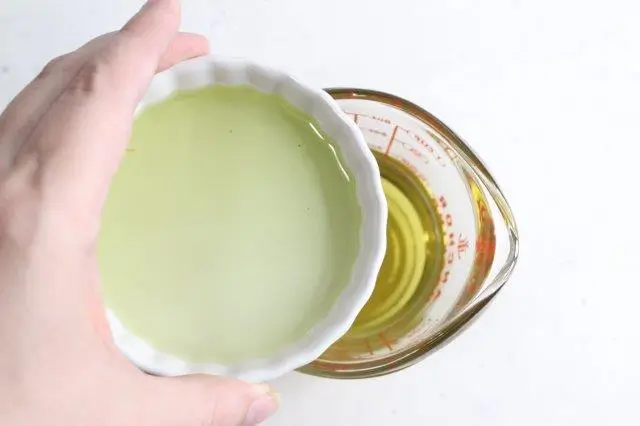
Add the carrier oil to the mixture and stir well. This helps balance the cream’s texture and adds a smooth finish.
Step 4: Cool the Mixture
Let the mixture sit at room temperature until it starts to solidify. Avoid placing it in the fridge, as this can affect the texture of the cream. Allowing it to cool on the counter ensures a smooth, fluffy consistency when whipped.
Once the mixture has firmed up slightly but is still soft, use a hand mixer or stand mixer to whip it until light and fluffy.
Step 5: Add Essential Oils (Optional)
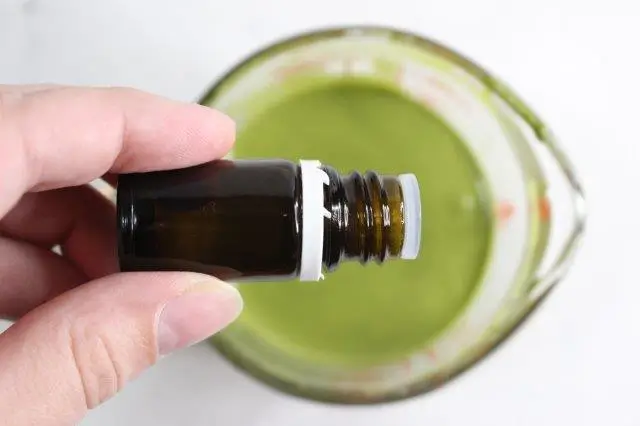
Add 10-15 drops of your favorite essential oils to the whipped cream and mix well to distribute the scent evenly.
Step 6: Store and Enjoy
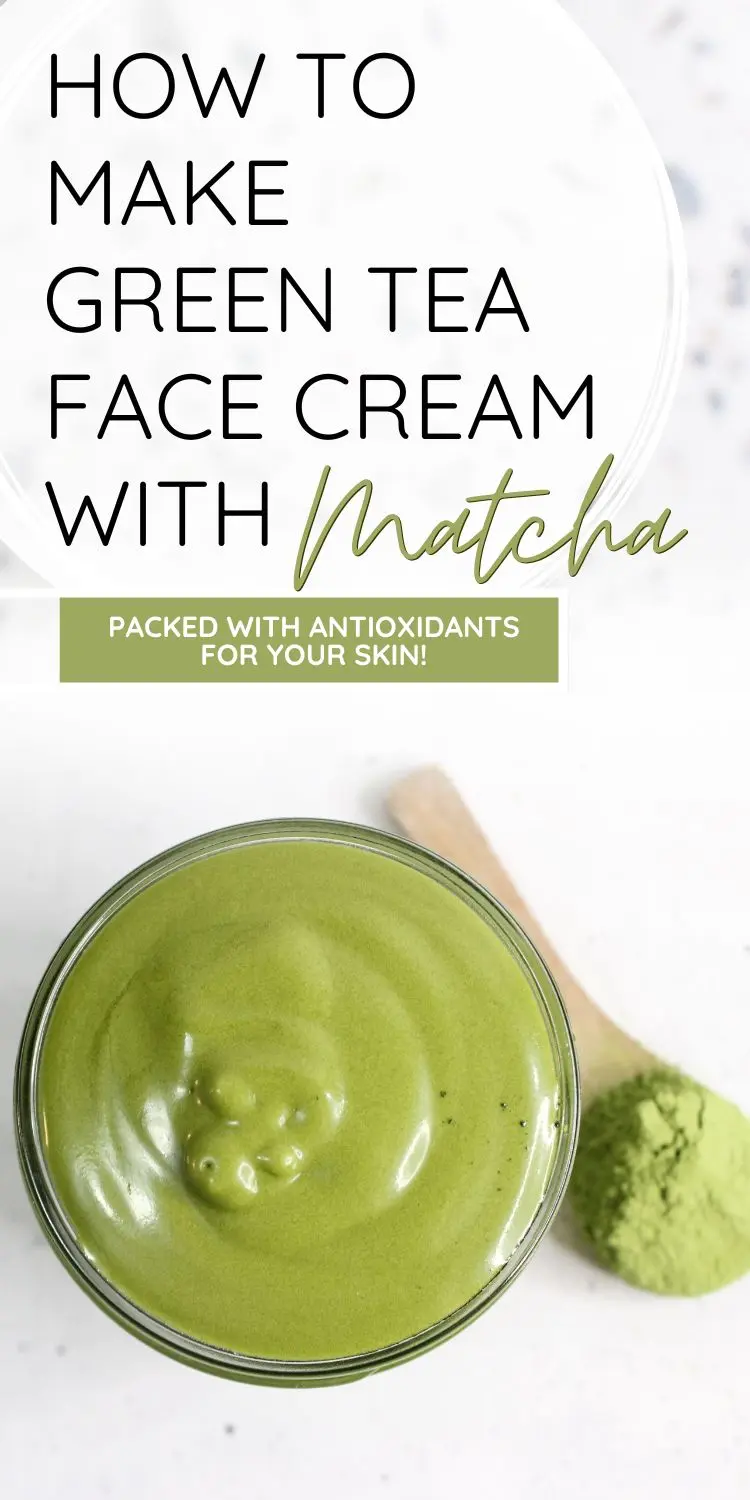
Transfer your finished cream to an airtight glass jar or container. Store it in a cool, dry place to maintain its texture.
How to Use Your Green Tea Face Cream
- Take a small amount of cream with clean fingers.
- Warm it between your hands to soften.
- Gently massage it into your face, focusing on areas that need extra hydration.
This recipe makes about 6 ounces of face cream, perfect for daily use or as a thoughtful, homemade gift. It’s a wonderful way to pamper your skin with the benefits of green tea and natural ingredients!
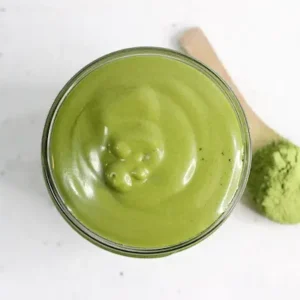
Green Tea Face Cream
Equipment
Ingredients
- 1 tablespoon Matcha powder
- ¼ cup coconut oil
- 4 TBL shea butter
- 1 TBL carrier oil Argan, Jojoba, etc.
- 10-15 drops essential oils
- glass jar with lid for storage
Instructions
- Instructions
- In a double boiler, melt the coconut oil and shea butter together until completely liquid.
- Once melted, remove from heat and stir in the matcha powder until fully dissolved.
- Add the carrier oil, mixing well.
- Let the mixture cool down on the counter. Once it starts to solidify but is still soft, use a hand mixer or stand mixer to whip it until fluffy.
- Add in your drops of essential oils. Then add to a glass jar.
Notes
- Essential oils are optional.
- Leave on the counter to cool down, don’t put in the fridge.
- Any carrier oil works. My favorite to use is Argan oil.
Before You Go, See What’s New

Dawn Goehring
Hi! I’m Dawn, the founder of Desert Naturals. My family , including my 2 teen boys, husband and myself, live in the southern California desert, I’m passionate about natural living and a life free of synthetics, dye’s, artificial fragrances, and other harmful ingredients. I love to use essential oils and natural ingredients for pretty much everything from natural remedies for my family, to non toxic cleaning for my home, to making my own DIY Beauty products, self care products, and more.





love this!!